
NOTES
Take 2: Controlling Your PC via AI with UI-TARS Desktop
This time, control Microsoft Windows or Apple macOs operating systems with AI prompts
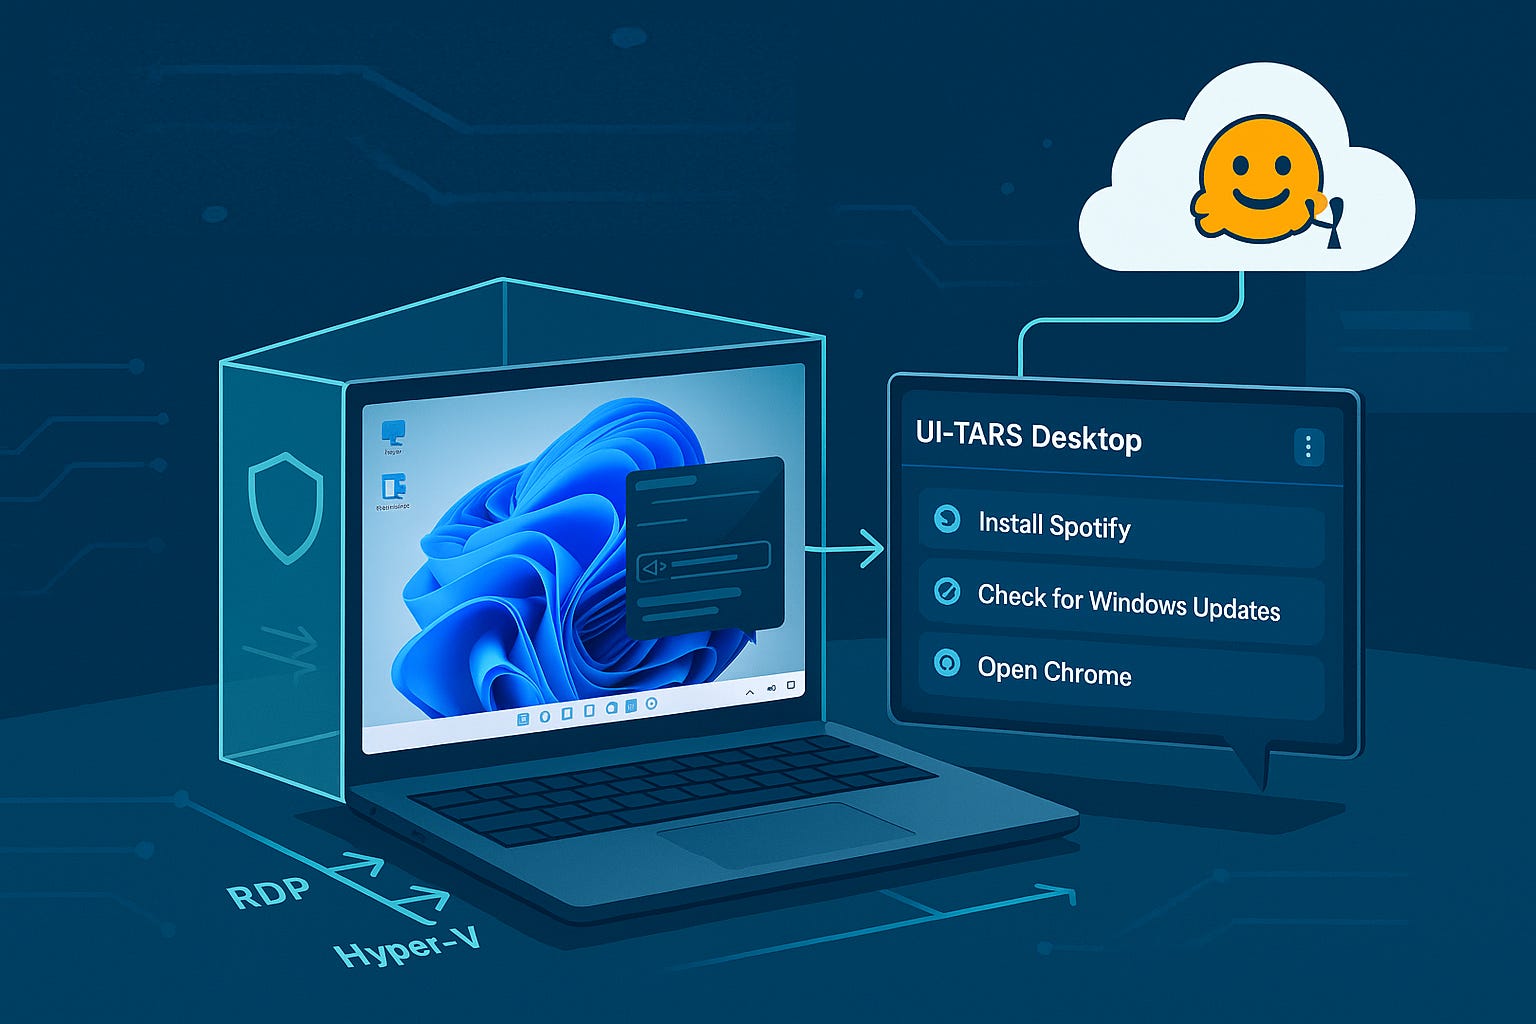
Recently I published an article on how to control your own Ubuntu (Linux) PC via AI prompts. This time, we’ll look into a completely different solution that allows you to control a clean sandboxed instance of Windows or MacOS via AI prompts. For this demo, we will be using a solution called UI-TARS-Desktop (https://github.com/bytedance/UI-TARS-desktop) and also leverage some powerful GPUs in the cloud via Hugging Face (https://huggingface.co).
(And please be aware, the AI model being used here was trained by ByteDance - famously known as the Chinese internet technology company that owns TikTok. This is why we will be implementing this demo in a sandboxed environment.)
Setup Your Hugging Face Endpoint
-
Sign up or log into your Hugging Face account at https://huggingface.co/join
-
Go to the Inference Endpoints page: https://endpoints.huggingface.co/
-
Click on "+ New".
-
In the "Model" field, search for "ByteDance-Seed/UI-TARS-1.5-7B", select it from the dropdown, and click Configure
-
In the right-hand pane, select "Amazon Web Services" -> GPU -> East US us-east -> Nvidia A100 -> Scroll down and expand the Container Configuration section -> Max Input Length (per Query): 65536 -> Max Batch Prefill Tokens: 65536 -> Max Number of Tokens (per Query): 65537 -> Scroll down and expand the Environment Variable section -> Under Default Env add these 2 variables: CUDA_GRAPHS = 0 -> PAYLOAD_LIMIT = 8000000
- IMPORTANT NOTE: The above GPU costs about $2.50/hr to run. Hugging Face automatically caps your account at $100-worth of usage (which you can adjust yourself via the Hugging Face dashboard)
-
Click "Create Endpoint" at the bottom of the page.
-
Once the endpoint is created, go to the "Settings" tab of your endpoint and make sure Container URI says something like: ghcr.io/huggingface/text-generation-inference:3.3.4 (the actual version doesn’t have to match exactly as long as it is above 3.0.0)
-
Go to your endpoint's Overview tab -> Look at the "Playground" section towards the bottom of the page -> Click on the "API" tab -> take note of the value for "base_url" which should look like: https://{unique-id}.us-east-1.aws.endpoints.huggingface.cloud/v1/
-
Go to https://huggingface.co/settings/tokens -> Create new token -> Token type = Read -> Give it an arbitrary name -> click Create token -> take note of the value
-
Take note of your Hugging Face username which can be found here: https://huggingface.co/settings/account
Important Hardware Notes
- Make sure your computer has at least 40GB of available storage space
- Make sure your computer has at least 16GB of memory/RAM installed
- For a Windows deployment, if Hyper-V is not already enabled on your Windows PC, running the script will automatically restart your computer after the features are installed.
- The script will take about 45min to finish running
For Windows
The below Windows PowerShell script does the following:
- Enables Microsoft’s Hyper-V hypervisor to manage virtual machines
- Installs the Chocolatey (https://chocolatey.org) Windows package manager
- Installs Hashicorp’s Vagrant (https://developer.hashicorp.com/vagrant) in order to help manage virtual machines
- Creates a new Windows 11 Virtual Machine on your computer
- Installs all TARS-UI-Desktop tools and dependencies in that new Windows 11 Virtual Machine
The Script (One-Liner)
Run PowerShell (search for the program via Windows Start Menu → Right-Click → Run as Administrator), copy/paste the below line, and press Enter on your keyboard.
$ScriptName = "Run-UI_TARS_Via_HyperV_VM.ps1"; Invoke-WebRequest -Uri "https://raw.githubusercontent.com/pldmgg/misc-powershell/refs/heads/master/MyScripts/$ScriptName" -OutFile "$env:USERPROFILE\Downloads\$ScriptName"; powershell -ExecutionPolicy Bypass -File "$env:USERPROFILE\Downloads\$ScriptName"
The script will prompt you for the following Hugging Face information that you should already have available:
- huggingface.co API Token (see https://huggingface.co/settings/tokens)
- huggingface.co base_url (see https://endpoints.huggingface.co/)
- huggingface.co username (see https://huggingface.co/settings/account)
After that, it will take about 45min until the Windows 11 virtual machine will be ready for additional configuration:
- First, you will receive a prompt when the script tries to use Microsoft’s Remote Desktop (RDP) program in order to connect to the virtual machine. Move past the generic RDP warning pop-up and enter the credentials for the virtual machine (i.e. username = vagrant | password = vagrant)
- Once the RDP session shows you the virtual machine’s Desktop, go back to the PowerShell window and press Enter on your keyboard to let the script continue
- Your will see UI-TARS-Desktop and the associated prerequisites being installed in the virtual machine.
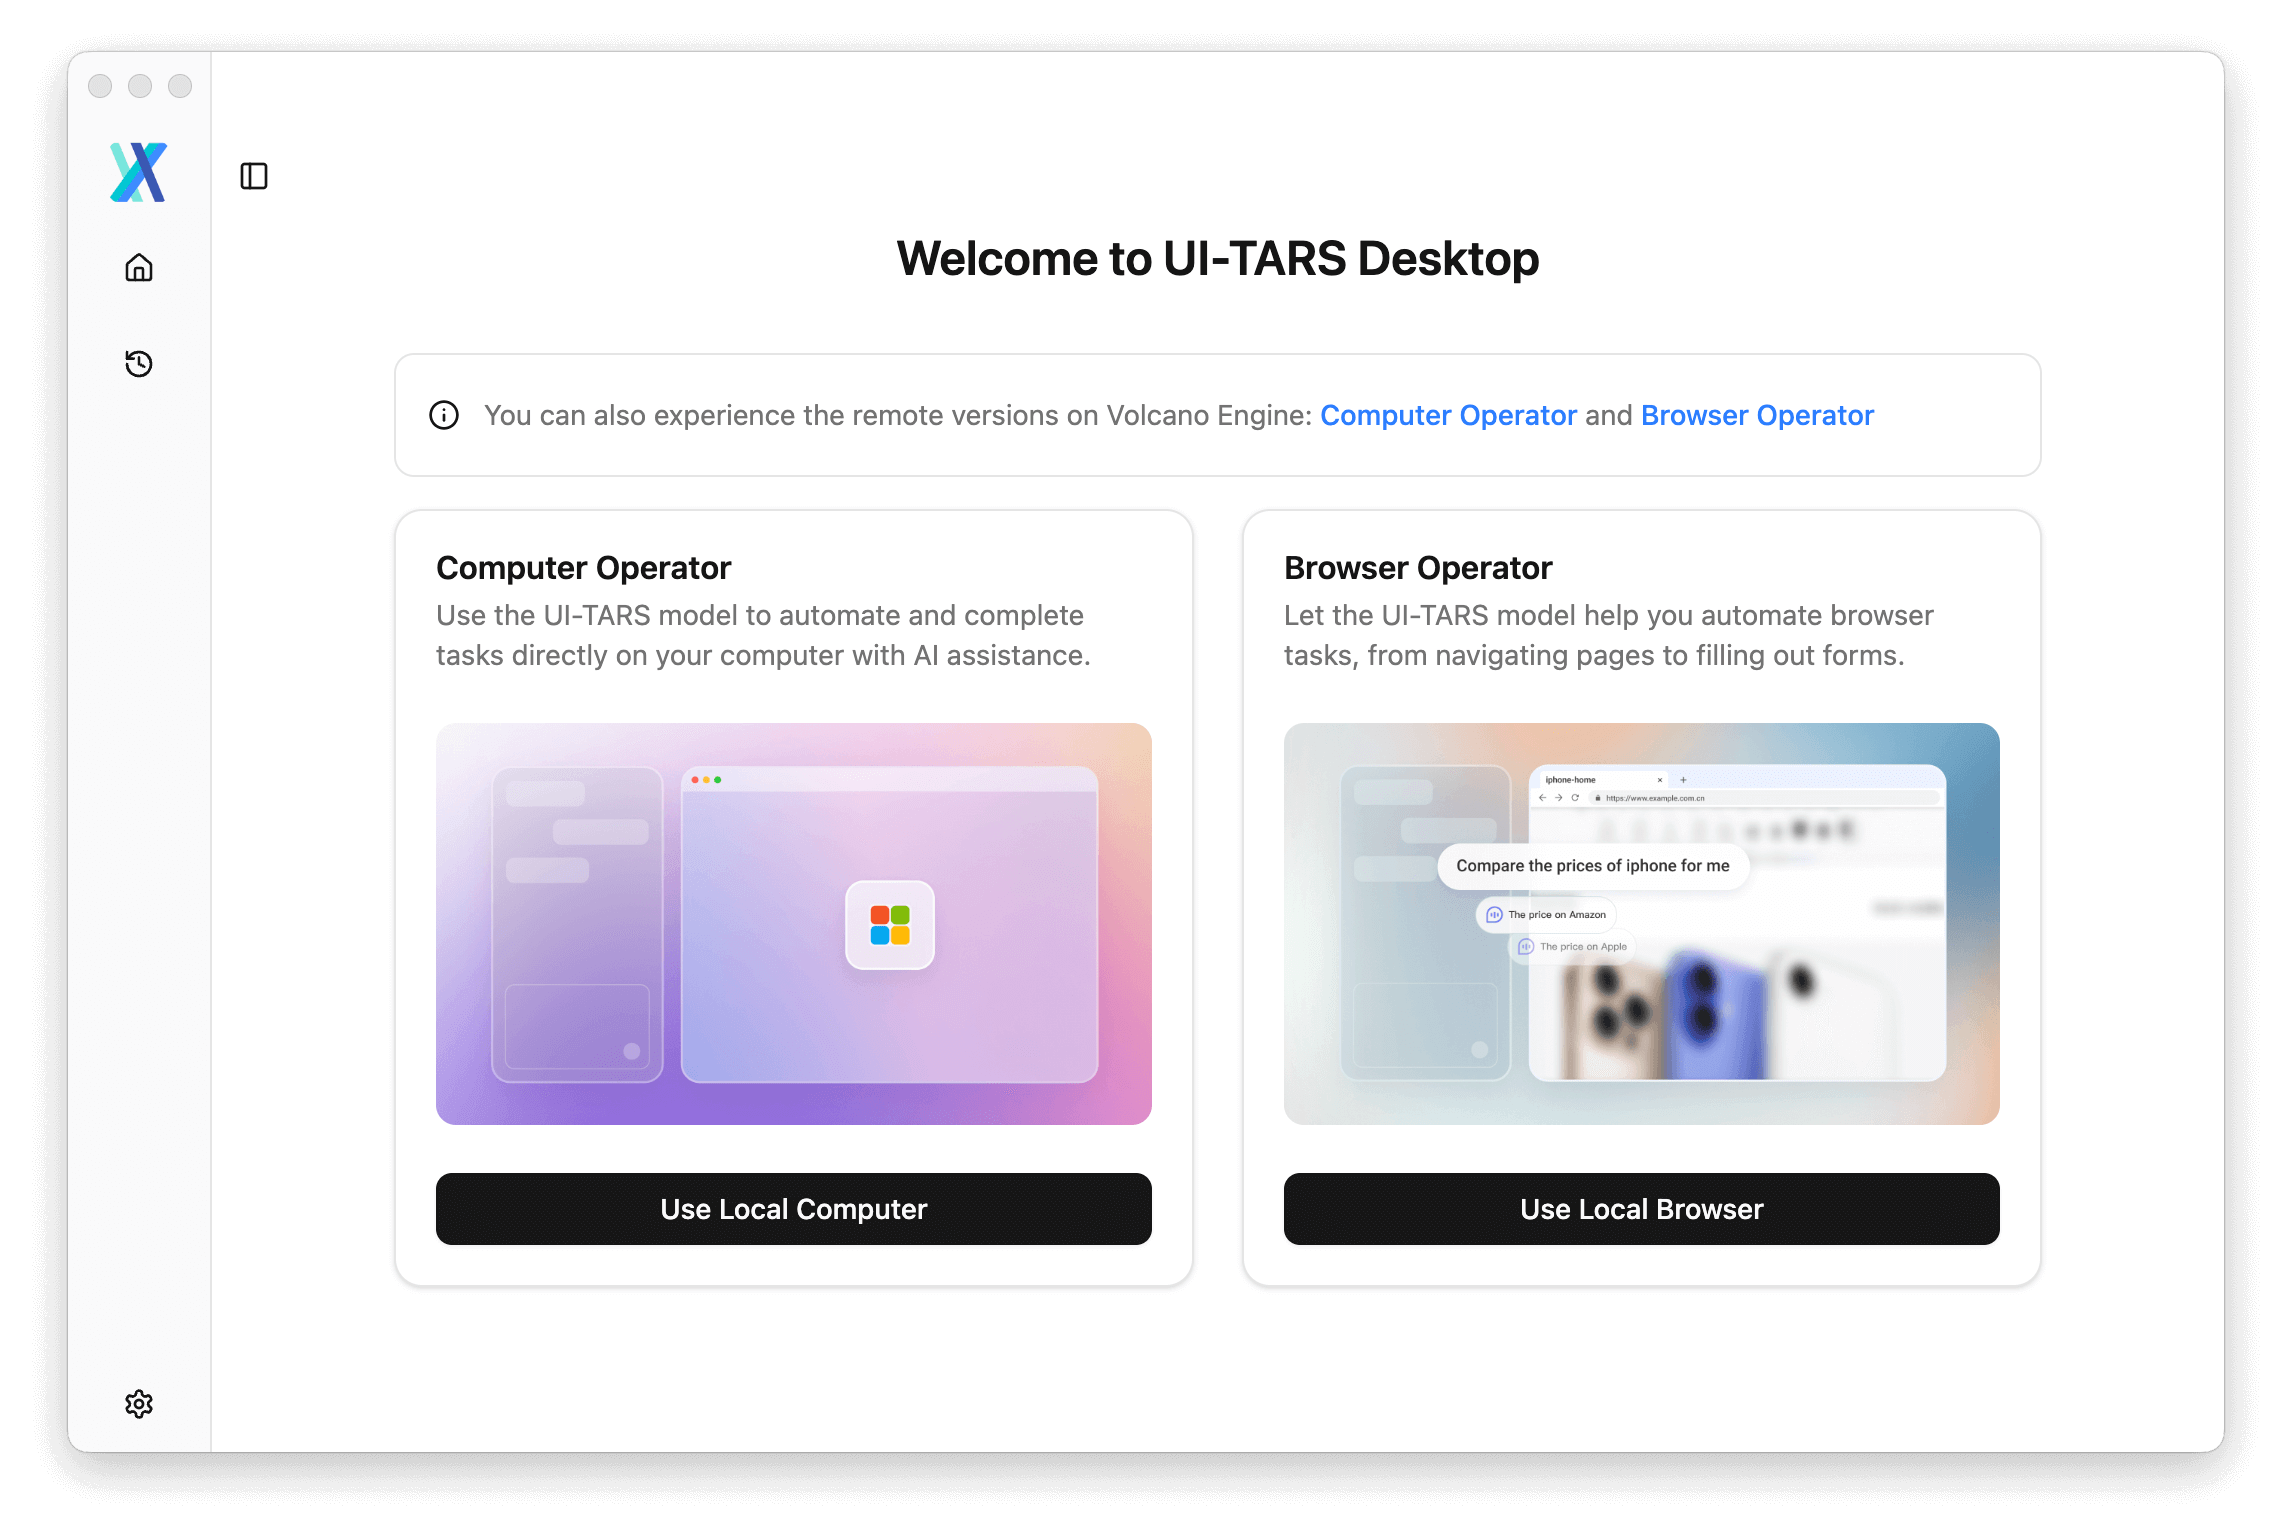
- When you see the below screen, the script is finished running
A Few More Configuration Steps
For the best experience, in your virtual machine do the following:
-
Open MS Edge and Google Chrome browsers at least once to get through their initial one-time setup wizards.
-
Minimize any windows besides the UI-TARS Desktop window
-
In UI-TARS Desktop, click the “Use Local Computer” button and fill in the fields as follows:
- VLM Provider = Hugging Face for UI-TARS-1.5
- VLM Base URL = Your Hugging Face endpoint base_url
- VLM API Key = Your Hugging Face endpoint authentication token
- VLM Model Name = ByteDance-Seed/UI-TARS-1.5-7B
-
Once the above fields are filled out, scroll down and click the “Get Start” button and you will be presented with the AI Chat interface
Start Controlling Your PC with AI
Use the UI-TARS Desktop AI Chat interface to tell it to do whatever you want with your Windows PC. Some examples:
- Use Google Chrome to find the Wikipedia article of the day and write a summary to a .txt file in my Downloads folder
- Install Spotify
- Check for Windows Updates and install them after they are downloaded
- How much space do I have left on my hard drive?
- Use PowerShell to figure out the make and model of my computer
- Rename my computer “AwesomePC” and restart
For macOS
Send an email to info@techtargs.com if you’d like instructions on testing this with macOS.